Search This Blog

Showing posts with label Tutorial. Show all posts

Sunday, August 8, 2010

Pinless Machine Binding


Cut binding strips using a 1 1/2" metal ruler with a sandpaper finish.  I wish I could tell you where to find this gem, but I bought it over 20 years ago.  Perfect results every time.


Press binding in half, but do not sew the edges together.


Attach binding, right sides together, using a 1/4" foot. THIS is where I made a critical error.  I assumed my seam was true.  Proceeded several steps ahead, only before finding I'd assumed wrong.  As I was ripping, I realized that this process entirely depends on a perfectly executed 1/4" seam.  So I flipped the quilt over and restitched the entire thing.  (I think I'll do this extra step as a precaution in the future.  The time I save by machine binding far outweighs the few minutes it takes to do some QA.)  As you might guess, I was a little  frustrated at this point!


Next step is very important:  STOP.  Back away from the quilt slowly.  Take a deep breath, forget about the quilt, and go directly to a Baby Shower!  (BTW, these folks will be significant in future posts.) 


FOUR generations at one table - you don't see that every day!


When you return, refreshed and renewed, fold and finger press the raw edge of the binding toward the center crease. 
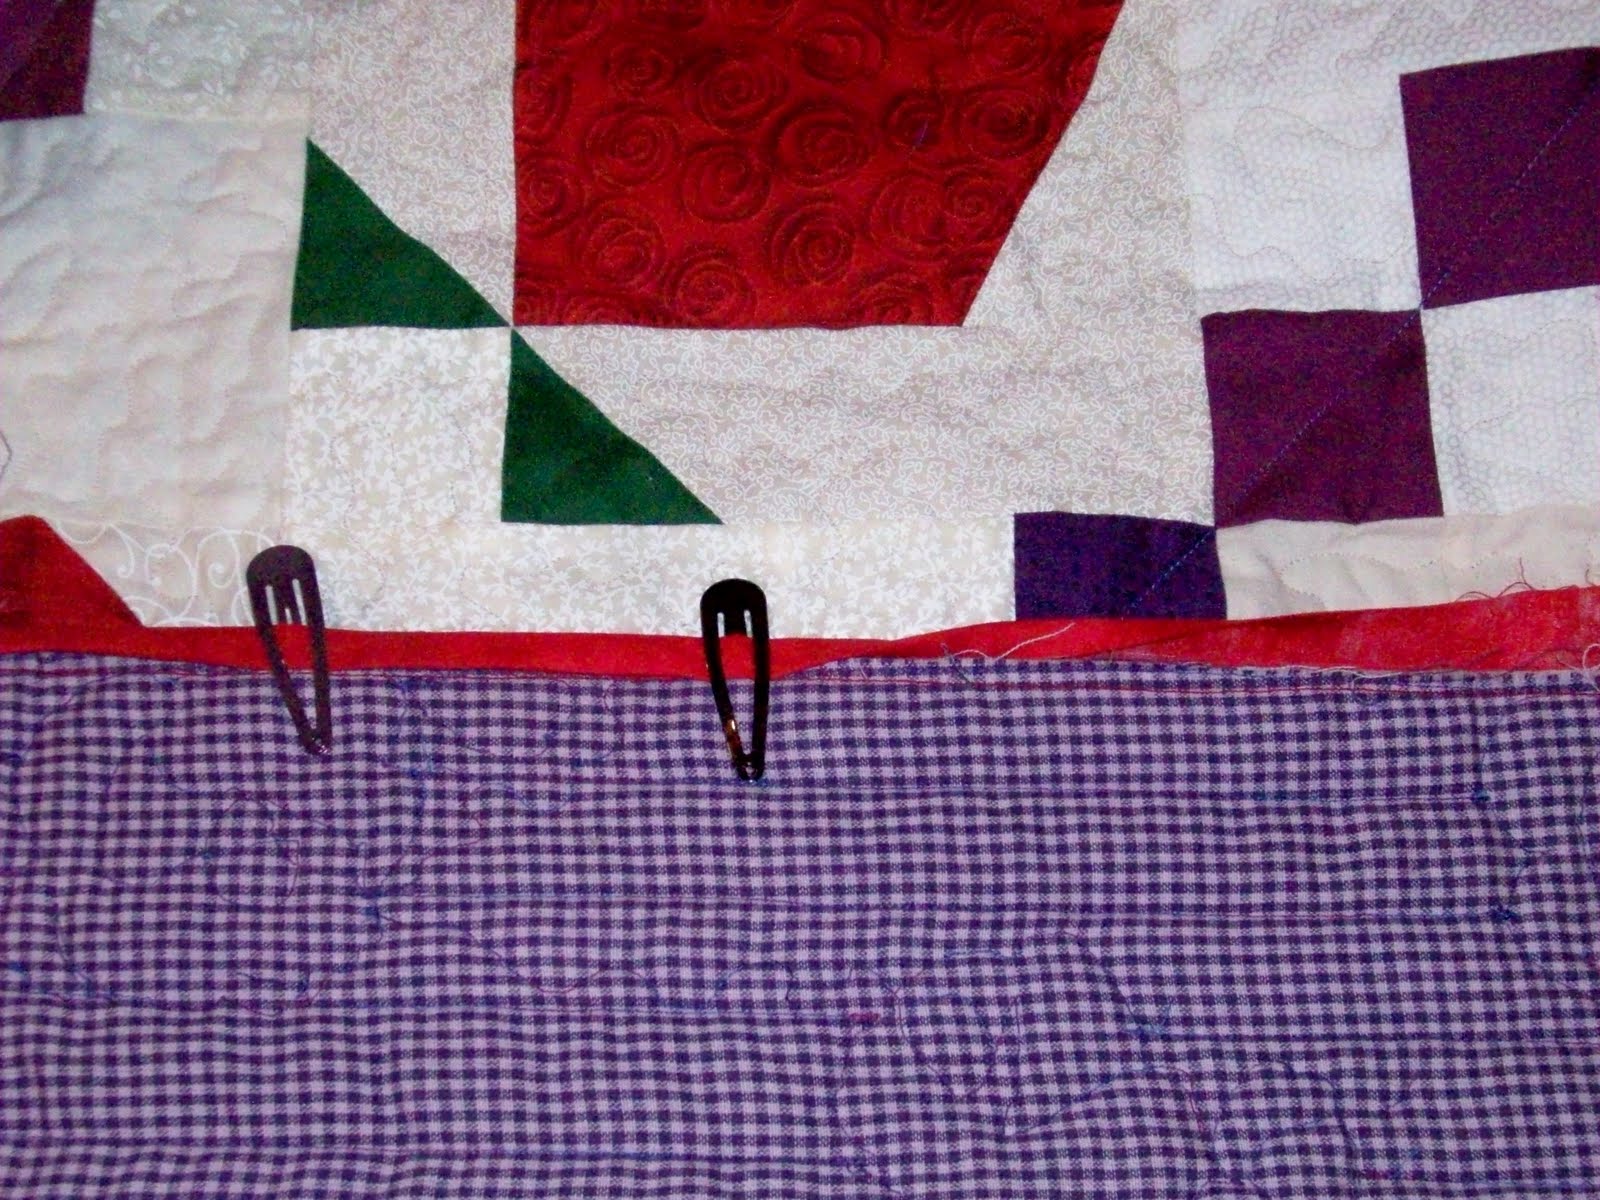

Make sure the center crease is "leaning" a hair toward the back of the quilt, so that the back of the binding is 1/8" wider than front.  This really is the key to sucessful machine binding. Secure with hair clips.  Turn quilt to the front and stitch in the ditch.
 

I had a few false starts, but eventually got the hang of it.  I stitched at a very slow pace, so I could watch both the needle and the ditch guide for best results.


Here's the final product.  Front, and...


...back.  I'm SOOO happy I could complete this in one day...rather than hours and hours of hand sewing!  :) 

Thursday, February 18, 2010

Needle Turn Applique-By Hand

Finally figured out how to applique the pine needles on this quilt.  Here's my "Snip As You Go" method: 
  
Step 1 - Gather your tools.  Use Fray Check on all points and notches.  Tweezers and bifocals not pictured.
Step 2 - Outline stitch around freezer paper shape.  Trim fabric to 3/16 of an inch.  Don't trim anything to 1/8 inch until or unless you HAVE to.  If you get any fraying in handling you can then cut it off later, as needed.

Step 3 - Trim freezer paper tips to reduce bulk.

Step 4 - Use Disappearing ink to lightly mark quilt.  A couple dots will do.  Position applique.  Stitch with a waxed, single thread.  Leave a gap for removing freezer paper later.
Step 5 - NOW trim fabric around tip to 1/8th inch.  Turn tip under.  Secure tip with TWO stitches (one will simply unravel).  Fold under opposite side. 

Step 6 - Secure other side of tip with TWO stitches, before stitching down the other side.  Repeat until all tips are complete.  Remember to leave a gap.  Gently insert embroidery scissors to loosen freezer paper.

Step 7 - Remove freezer paper.  Use tweezers, if needed.

Step 8 - Stitch up the gap, and feast your eyes. 

Step 9 - For larger shapes, leave freezer paper in place, then remove from the back of the quilt.  This will remove some of the bulk for smoother quilting later.

Final Tip - Snip as you go.  Again, don't trim your shapes to 1/8th inch until you really HAVE to. 

Disclaimer: If you enter quilts for judging in competitions, do not take this last word of advice:

I quilt for fun,  so I reserve the right to modify an applique shape ever so slightly.  If you HAVE to do this, snip the exposed outline stitch and remove with a tweezers.  No one will ever be the wiser!