
Cut binding strips using a 1 1/2" metal ruler with a sandpaper finish. I wish I could tell you where to find this gem, but I bought it over 20 years ago. Perfect results every time.

Press binding in half, but do not sew the edges together.

Attach binding, right sides together, using a 1/4" foot. THIS is where I made a critical error. I assumed my seam was true. Proceeded several steps ahead, only before finding I'd assumed wrong. As I was ripping, I realized that this process entirely depends on a perfectly executed 1/4" seam. So I flipped the quilt over and restitched the entire thing. (I think I'll do this extra step as a precaution in the future. The time I save by machine binding far outweighs the few minutes it takes to do some QA.) As you might guess, I was a little frustrated at this point!

Next step is very important: STOP. Back away from the quilt slowly. Take a deep breath, forget about the quilt, and go directly to a Baby Shower! (BTW, these folks will be significant in future posts.)

FOUR generations at one table - you don't see that every day!

When you return, refreshed and renewed, fold and finger press the raw edge of the binding toward the center crease.
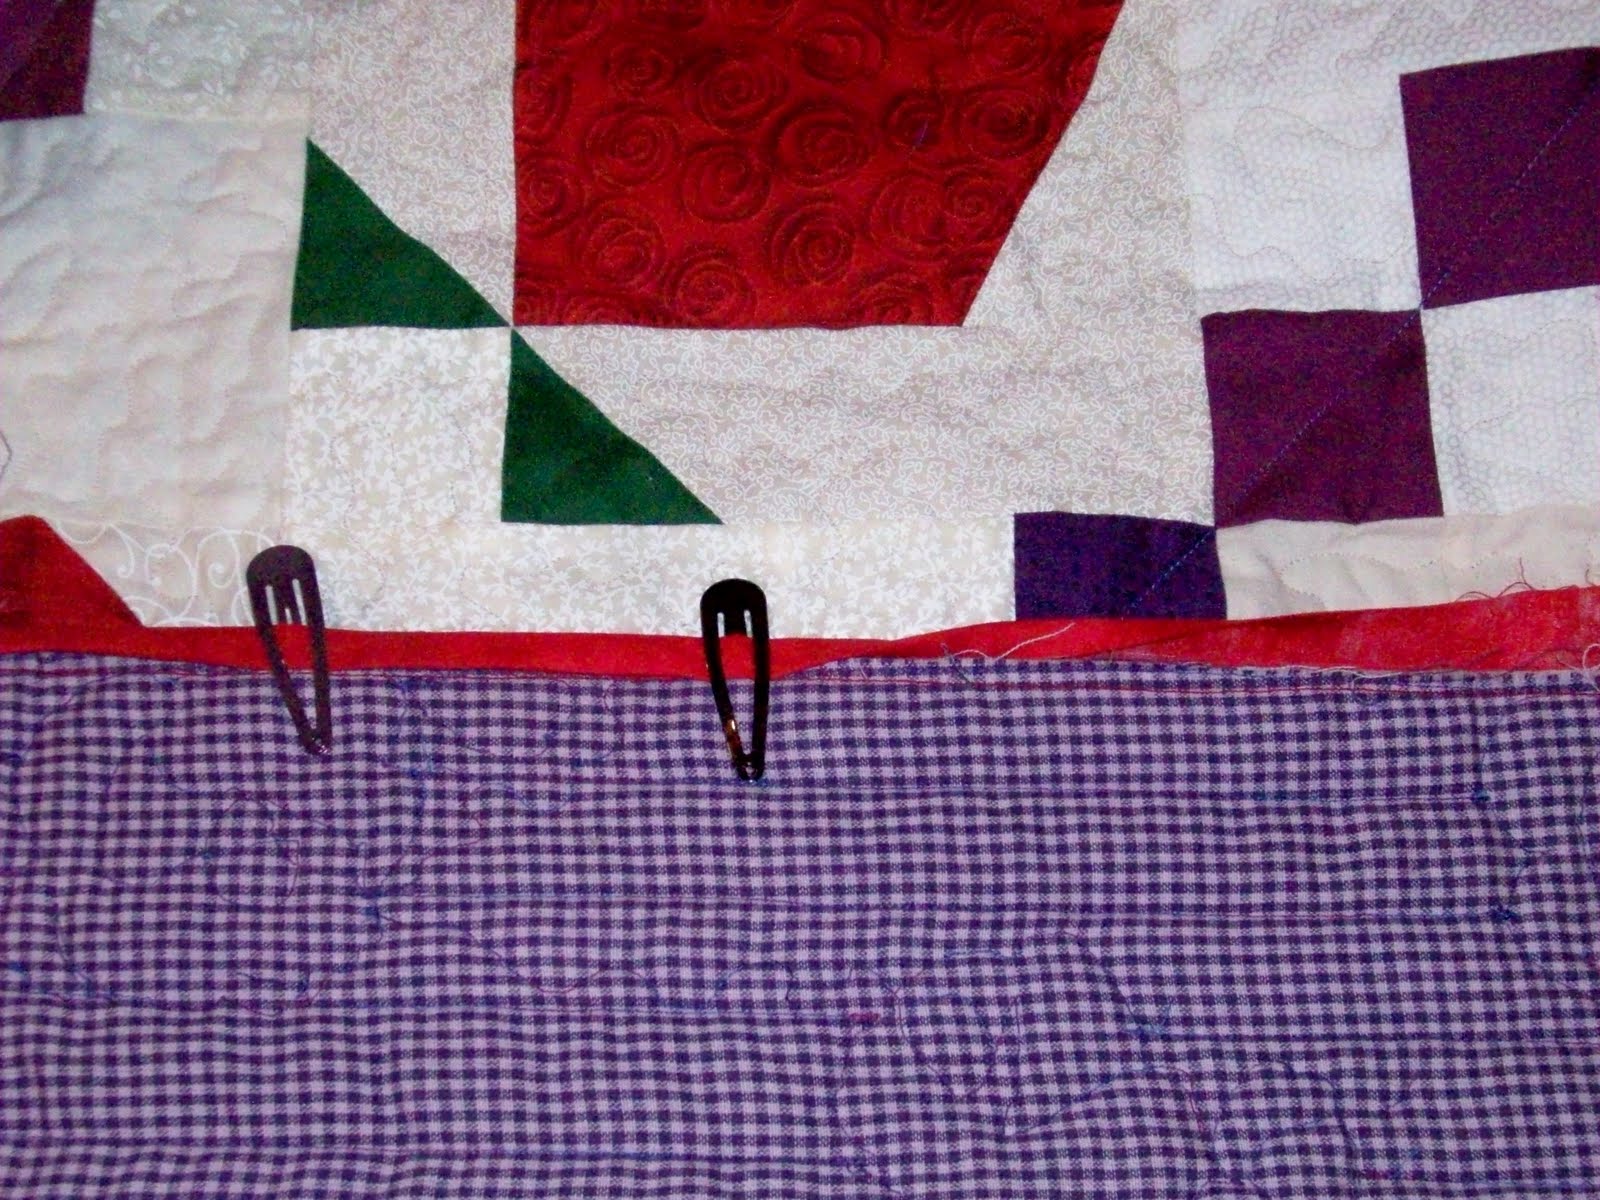
Make sure the center crease is "leaning" a hair toward the back of the quilt, so that the back of the binding is 1/8" wider than front. This really is the key to sucessful machine binding. Secure with hair clips. Turn quilt to the front and stitch in the ditch.

I had a few false starts, but eventually got the hang of it. I stitched at a very slow pace, so I could watch both the needle and the ditch guide for best results.

Here's the final product. Front, and...

...back. I'm SOOO happy I could complete this in one day...rather than hours and hours of hand sewing! :)
No comments:
Post a Comment